
In this article, you will learn the step-by-step process of testing your solar panels using a multimeter. We will cover the essential tools you need, the specific measurements to take, and how to interpret the results.
Connect the L (line) side of the tester to the photovoltaic cell string's P (positive) side. Measure the insulation resistance at the P-side terminal and check for any signs of degradation.
Once equipped with the right clamp meter, all you have to do is clamp it around one of the conductors to get the current amperage your solar panel or system is generating.
Therefore, a suitable fault detection system should be enabled to minimize the damage caused by the faulty PV module and protect the PV system from various losses. In this work, different classifications of PV faults and fault detection techniques are presented.
In this guide, you'll learn how to verify original solar panels step by step, understand the difference between verification and authenticity, identify common signs of fake panels, and safely check panels from major global solar brands - all in one place.
In order to figure out the necessary number of panels in your solar system, take the size of the system in watts and divide it by the power output rating (wattage) of the panels you want to install. The wattage of most residential modules ranges from 250 to 400 W.
Visual indicators, such as solar panel discoloration, delamination, or signs of overheating at the junction box, can point to underlying issues like moisture intrusion or solar panel diode failure.
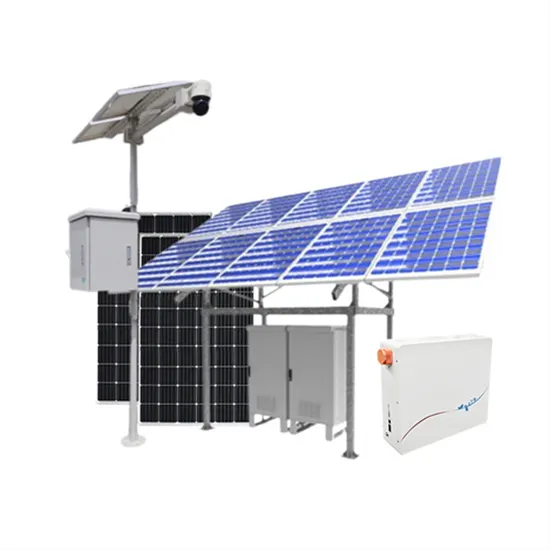
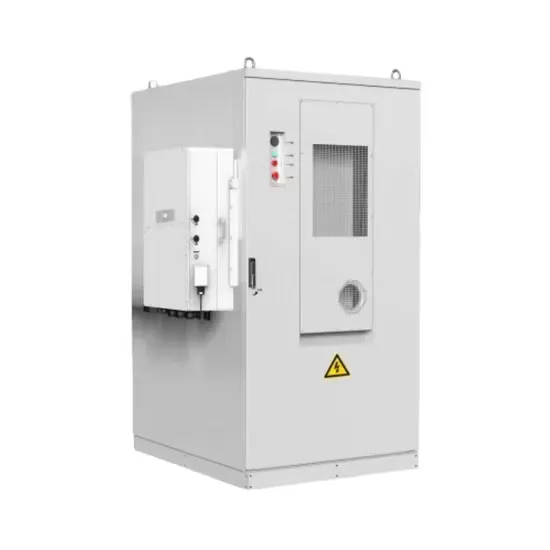
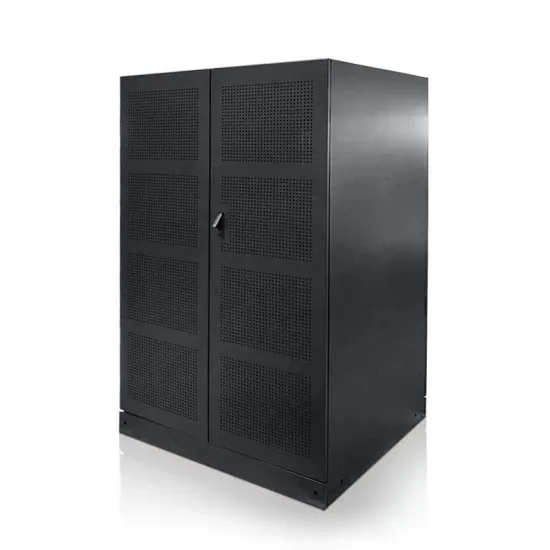
E-START ENERGY delivers utility-scale BESS for frequency regulation, peak shaving, electricity market participation, and grid-side solutions. Request a free consultation and get a custom quote for your project — from 1MW to 500MW+.
Have questions about grid-scale energy storage, frequency regulation systems, peak shaving solutions, or grid interconnection technology? Reach out – our energy storage experts are ready to assist.